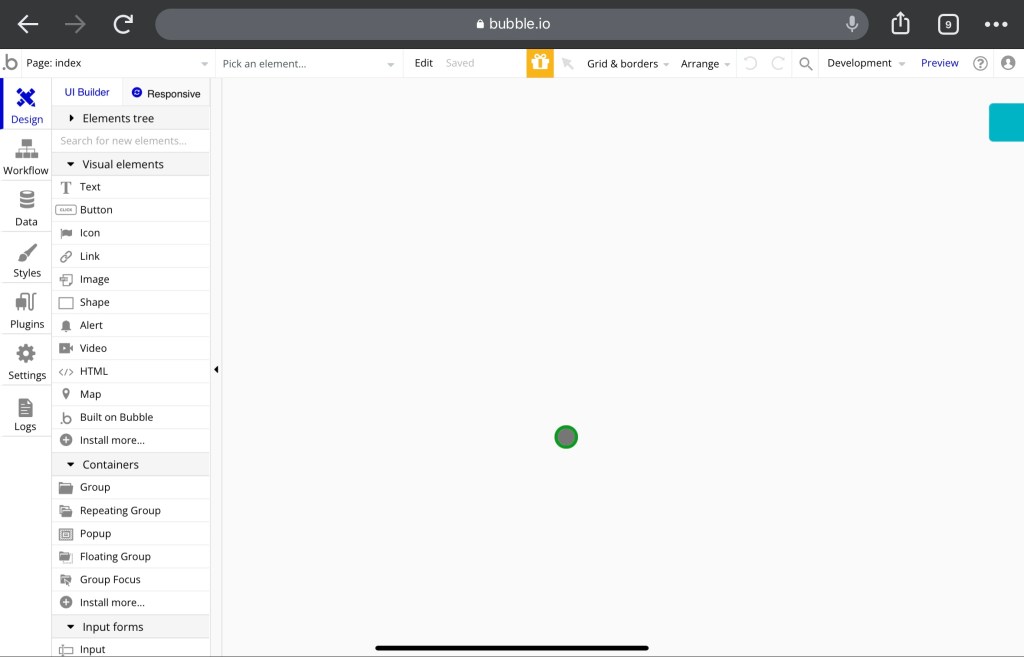
An wonderful method to express yourself, market your business, or create a community is by starting a blog. With the help of the website builder Bubble.io, you can quickly and easily start a blog. You will be guided through the process of setting up a blog on bubble.io in this article, including instructions for selecting a template, modifying the look, and posting your first post.
Step 1: Sign Up for a bubble.io account

Creating a free account on bubble.io is the first step towards starting a blog. To do this, go to the bubble.io website and select “Sign Up” from the menu in the top right corner. Your email address and a password creation will be required. You will get a verification email once you’ve finished the registration procedure. Verify your account by following the instructions in the email, then sign in to the bubble.io dashboard.
Step 2: Choose a Template

There are many themes available on Bubble.io, including choices for blogs, portfolios, and e-commerce websites. We advise selecting the “Blog” template to begin a blog. This template contains built-in commenting functionality for your users as well as pre-designed pages for your blog’s home page, about page, and contact page. By selecting the “Preview” option, you may view each template prior to choosing one.
Step 3: Customize the Design

Once you’ve chosen a template, you can begin customizing your blog’s appearance. A variety of customization options are available with Bubble.io, including the ability to modify the colors, fonts, and layout of your website. You can also upload your own logo and background image to give your blog a more polished appearance. Go to the dashboard and select the “Design” tab to access the design options.
Step 4: Create Pages and Menus

You should add some more pages to your blog before submitting your first post. These might contain a “Disclaimer” page, a “About Me” page, and a “Contact Me” page. By selecting “New Page” from the “Content” tab on the dashboard, you can build these pages. By selecting the “Menu” tab on the dashboard after creating the pages, you may add them to your menu for simple navigation.
Step 5: Publish Your First Post
You can begin publishing your first post once you’ve done adding more pages and modifying your design. To do this, select “New Post” from the “Content” menu on your bubble.io dashboard. From there, you can compose your post, add a title, and include pictures or videos to make it more interesting. To make it easier for people to locate your post, you can also add tags and categories. When you’re done, click “Save,” and your blog post will be posted.
Step 6: Share Your Blog
Last but not least, spread the word about your new blog on social media and among your friends and family. This will enable you to reach a larger audience and increase traffic. By clicking the “Share” option in the dashboard, copying the link to your blog, and pasting it into social media networks, you can quickly share your blog.
Benefits of Creating a Blog on bubble.io
Creating a blog on bubble.io is a quick and easy method to start a website, whether your goal is to build a community, share your thoughts, or promote your business. Anyone can simply establish a blog that looks professional thanks to the user-friendly interface of bubble.io and its many customization possibilities. You can make a blog that is personalized to your particular requirements and objectives by following the guidelines in this manual. Additionally, bubble.io provides a range of services that could assist you in growing your blog and engaging with your audience. For instance, you can interact with your readers using the built-in commenting system, and you can monitor your blog’s effectiveness with the help of analytics tools. You can make a blog that is both useful and aesthetically pleasing with a little time and work.
SEO on Bubble.io
In terms of SEO, it’s important to note that while creating high-quality content is important, there are other factors that contribute to a website’s search engine ranking. These include having a well-structured website, optimizing for keywords, and gaining backlinks from other websites. To improve your blog’s search engine ranking, you should ensure that your blog is mobile-friendly, fast-loading, and has a clear hierarchy of headings (H1, H2, etc.). Additionally, you should include meta tags and alt tags for images and videos, and use internal linking to promote the flow of link juice throughout your blog.
Conclusion
In conclusion, starting a blog on bubble.io is a terrific approach to launch a website that can aid in community building, thought-sharing, and business promotion. Anyone can easily build a blog that looks professional thanks to bubble.io’s user-friendly interface and many customization possibilities. You can create a blog that is customized to your unique requirements and objectives by following the instructions provided in this manual.

